Migrate from XAMPP WordPress to Bitnami WordPress Production-Ready on AWS
Introduction
If you’re a WordPress developer, you already know about XAMPP: it provides you with a local development environment to create and test your WordPress themes, plugins and content. But what happens once your WordPress application is ready to go live, and you need to move it over to a highly-available, secure and scalable deployment in the cloud?
That’s where WordPress Production-Ready Certified by Bitnami and Automattic comes in. It provides a highly-available WordPress environment on Amazon Web Services (AWS), making it easy to transition your WordPress application from development to production in just a few clicks. WordPress Production-Ready installs WordPress on multiple Amazon EC2 instances in the AWS cloud, together with an Amazon Aurora relational database, to improve security and scalability.
This guide walks you through the process of migrating your application code and data from WordPress running locally on XAMPP to WordPress Production-Ready running on Amazon Web Services.
WordPress Production-Ready
Before starting the migration process, take a few minutes to understand the key components of WordPress Production-Ready. The following diagram displays the topology:
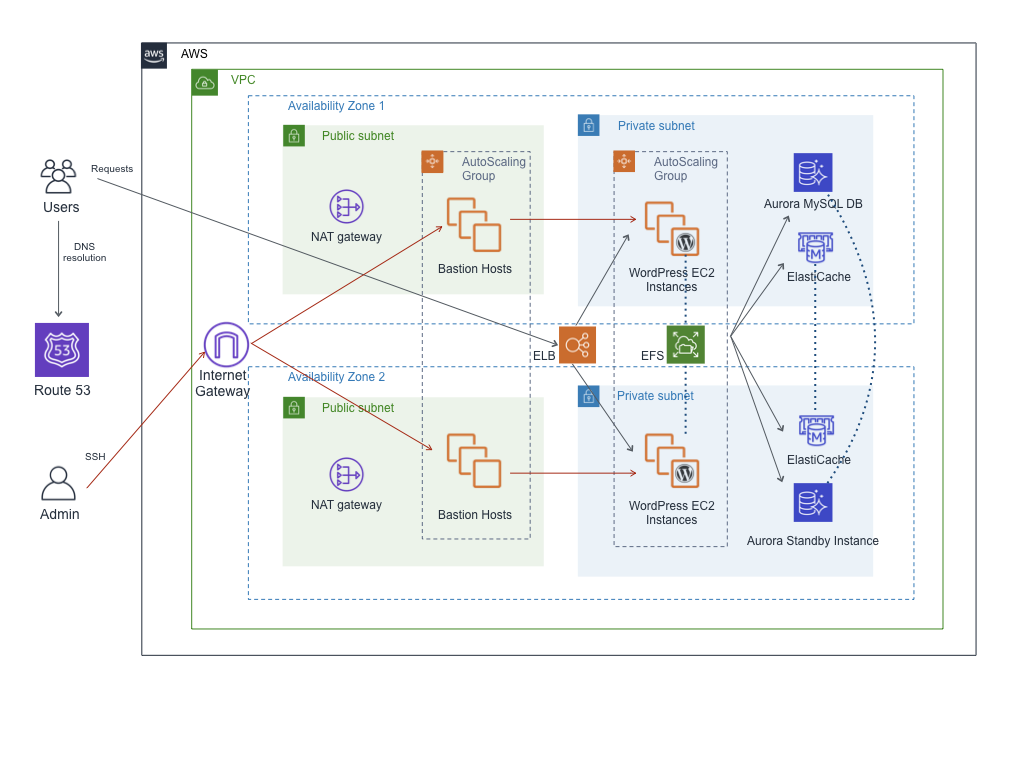
WordPress Production-Ready provides:
-
A highly available architecture that spans two Availability Zones
-
A virtual private cloud (VPC) configured with public and private subnets according to AWS best practices. This provides the network infrastructure for your deployment.
-
An internet gateway to provide access to the internet.
-
In the public subnets, managed NAT gateways to allow outbound internet access for resources in the private subnets.
-
In the public subnets, Linux bastion hosts in an Auto Scaling group to allow inbound Secure Shell (SSH) access to EC2 instances in public and private subnets.
-
Elastic Load Balancing (ELB) to distribute HTTP and HTTPS requests across multiple WordPress instances.
-
In the private subnets, EC2 instances that host the WordPress application on Apache. These instances are provisioned in an Auto Scaling group to ensure high availability.
-
In the private subnets, Aurora DB instances administered by Amazon Relational Database Service (Amazon RDS) and Amazon ElastiCache Memcached in-memory data stores.
-
In the private subnets, Amazon Elastic File System (Amazon EFS) to share assets (such as plugins, themes, and images) across WordPress instances.
Assumptions
This guide discusses a simple approach to migrating your WordPress application from your local XAMPP development environment to the AWS cloud using the pre-installed All-In-One WP Migration plugin.
This guide assumes that you have the following:
-
A local XAMPP deployment with the WordPress module. If you don’t, download XAMPP for your platform and then download and install the WordPress module for XAMPP.
-
A running deployment of WordPress Production-Ready on AWS. If you don’t, deploy WordPress Production-Ready.
-
Administrator credentials for both local and cloud deployments of WordPress.
Step 1: Back up local XAMPP data
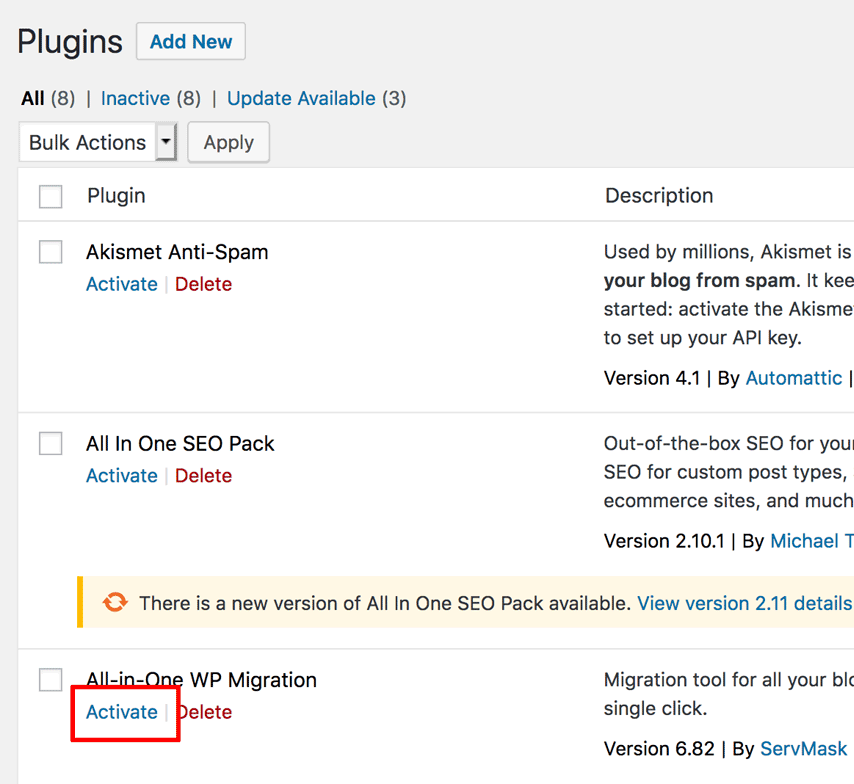
Begin by activating the All-In-One WP Migration plugin in your local WordPress deployment, as follows:
-
Log in to your local WordPress deployment as an administrator.
-
Navigate to the "Plugins → Installed plugins" page.
-
Activate the "All-In-One WP Migration" plugin.
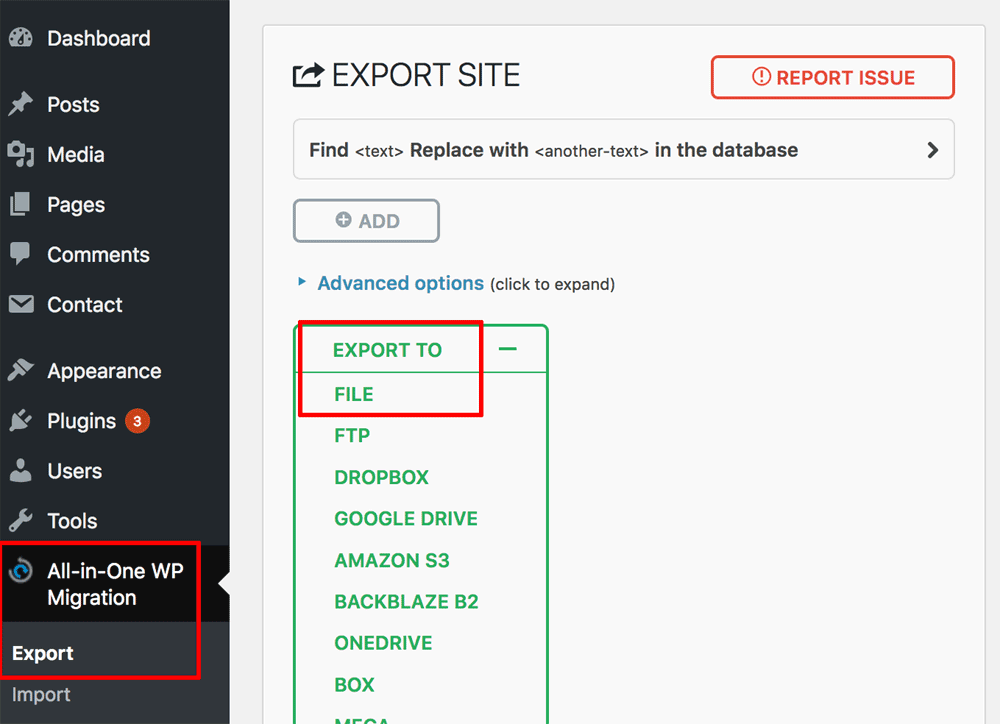
Then, use the plugin to export the contents of your WordPress deployment:
-
Navigate to the "All-in-One WP Migration → Export" page.
-
Click the "Export" button and select the "File" option to export the entire content of your WordPress blog, including plugins and themes.
-
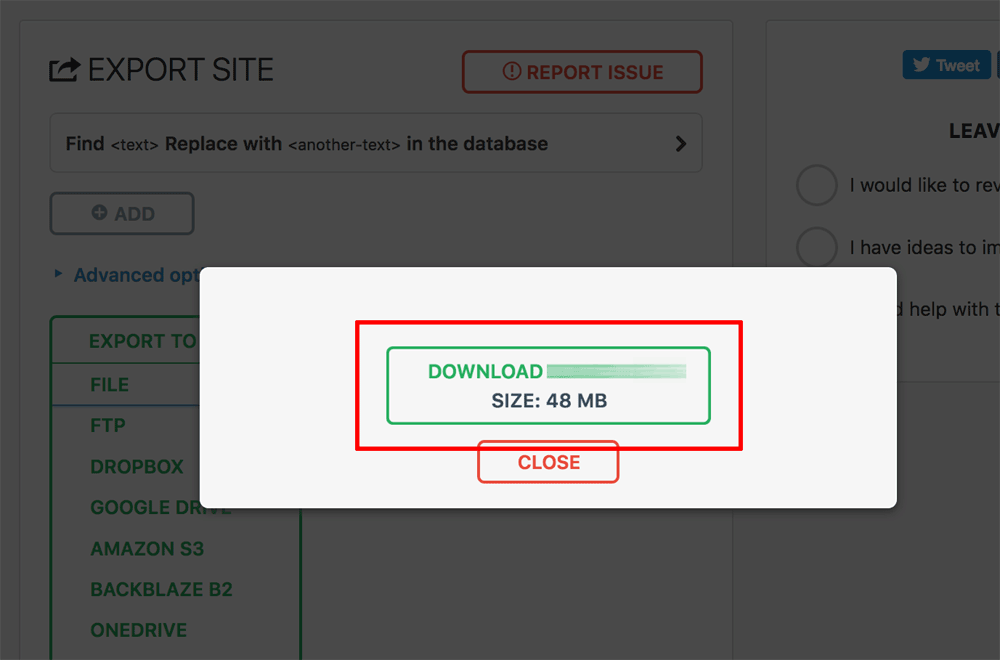
You will now be prompted to download a ZIP file containing the content to be migrated through your browser.
-
Download and save this file to the local system.
Step 2: Import data into WordPress Production-Ready
Next, activate the All-In-One WP Migration plugin in the WordPress Production-Ready deployment and follow these steps to import the saved data:
-
Log in to the WordPress Production-Ready deployment as an administrator.
-
Navigate to the "Plugins → Installed plugins" page.
-
Activate the "All-In-One WP Migration" plugin.
-
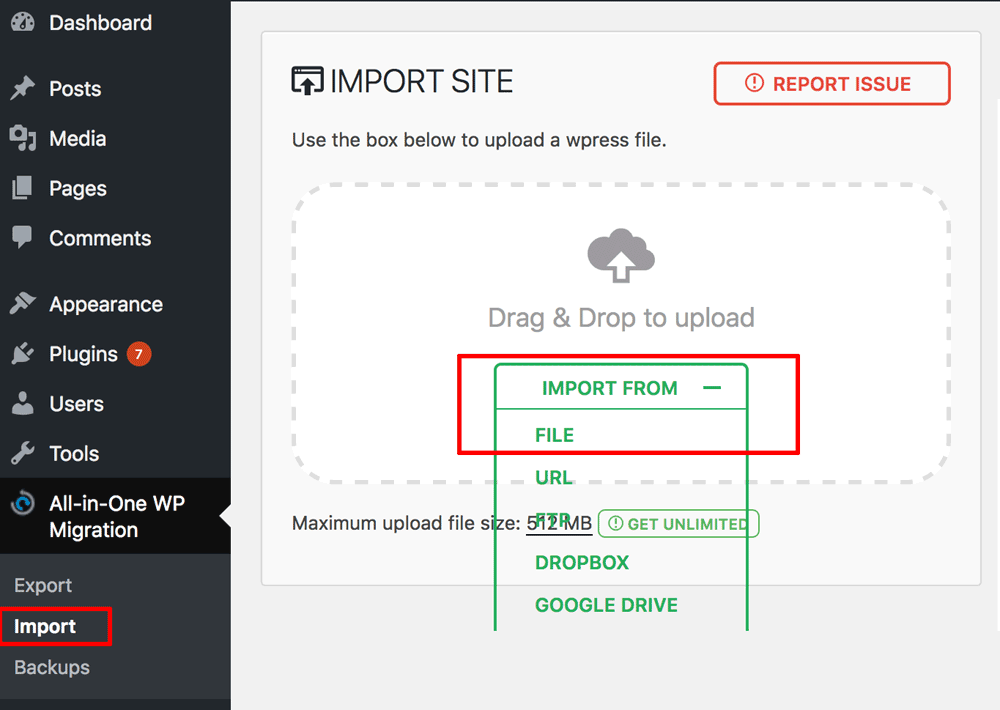
Navigate to the "All-in-One WP Migration → Import" page.
-
Click the "Import" button and select the "File" option.
-
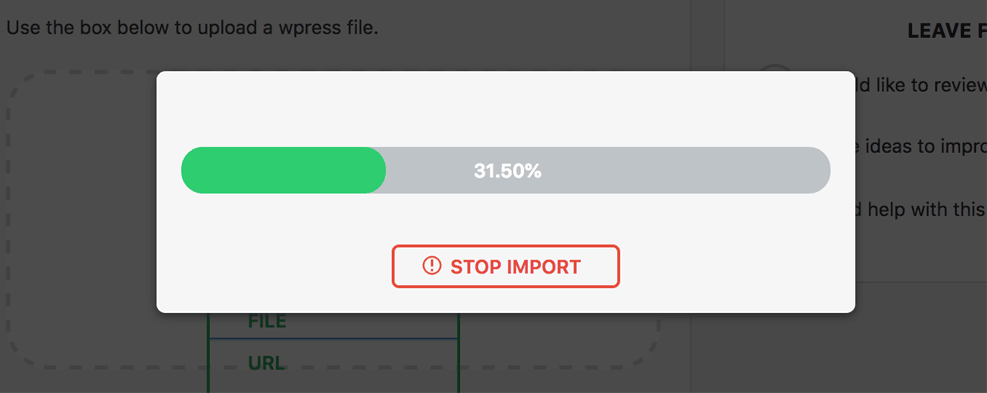
Select the ZIP file created previously and wait for the file to be uploaded.
-
Review the warning and click the "Proceed" button to finish the import process.
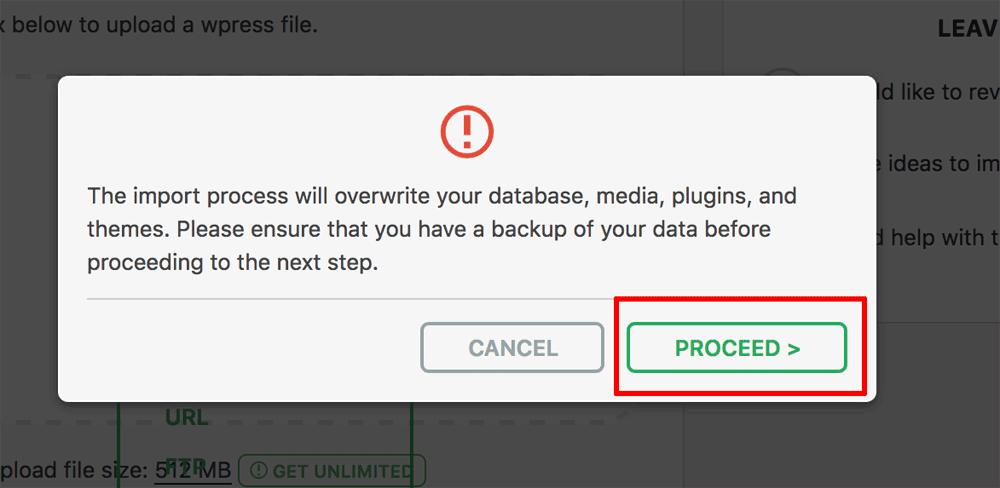
The exported content will be imported into the new WordPress Production-Ready deployment, overwriting any existing content. You will be prompted to log in to the WordPress dashboard again.
| At this point, you must log in using the credentials from your original WordPress deployment on XAMPP. |
-
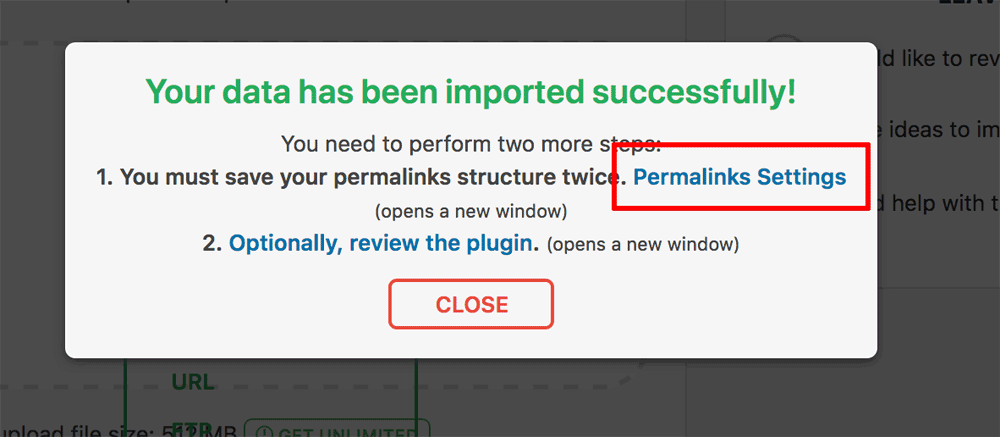
Click the "Permalinks Settings" link on the success page.
-
Verify the permalink settings. In most cases, no changes will be necessary. Click "Save Changes" to save your changes.
Your content should now be fully migrated and usable on the new WordPress Production-Ready deployment.
Scalability
WordPress Production-Ready deploys an Auto Scaling group to ensure high availability. This makes it easy to scale your WordPress Production-Ready instances horizontally and vertically.
To dynamically increase or decrease the number of instances, you can create horizontal scaling policies. When a scaling policy is in effect, the Auto Scaling group automatically launches or terminates instances as needed. By default, the solution configures a single policy to maintain the instances' average CPU utilization at 75%. You can also scale WordPress Production-Ready instances vertically by redeploying them on a different AWS EC2 instance type.
Read more about how to scale WordPress Production-Ready instances on AWS.[https://docs.bitnami.com/aws-templates/apps/wordpress-production-ready/administration/scale-deployment/]
Upgrades
The easiest way to upgrade the WordPress Production-Ready is to upgrade the CloudFormation stack.
Bitnami publishes a new version of the CloudFormation template, updating the AMIs used by it, whenever there’s a new version of the application or any subcomponent (such as PHP, Apache or OpenSSL) included on it. By replacing the template used by the WordPress Production-Ready stack, you will upgrade it.
All the data, application files and database, are stored outside the application instances on Amazon EFS and Amazon Aurora (RDS) respectively. Therefore, replacing the AMIs does not result in any data loss.
Read more about how to upgrade WordPress Production-Ready instances.[https://docs.bitnami.com/aws-templates/apps/wordpress-production-ready/administration/upgrade/]
Useful Links
About the author
Vikram Vaswani is the founder of Melonfire, an open source software consultancy firm, and the author of seven books on PHP, MySQL and XML development. Read more about him at http://vikram-vaswani.in/.